How to Code on a Chromebook Without Linux
Linux off or too slow? How to code on a Chromebook with only Chrome: browser editors, their limits, and using your home computer's VS Code from the browser.
The Coder IDE team · · 6 min read

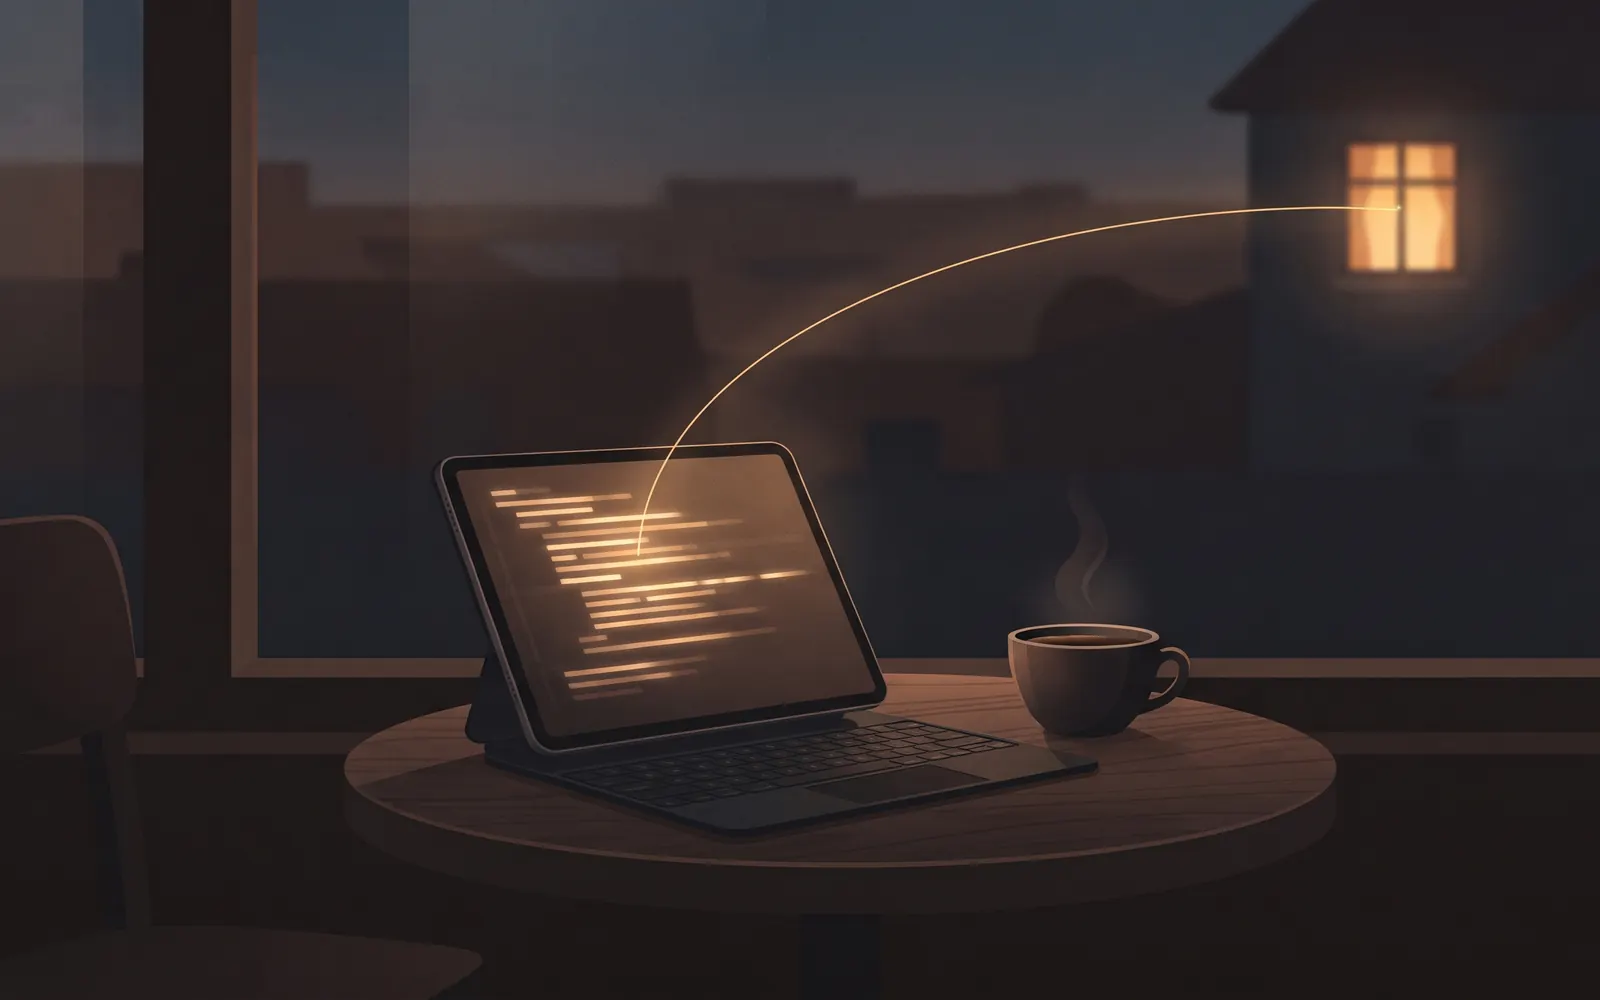
You have a Chromebook and you want to write real code on it, but the Linux development environment is greyed out, or it runs so slowly that installing Node feels like a punishment. You're not stuck. This guide covers what works with nothing but Chrome, where browser-only editors hit their limits, and how to use the full VS Code on a computer you already own from the Chromebook's browser.
Why Linux on ChromeOS isn't always an option
ChromeOS has a built-in Linux development environment (often called Crostini). When it's available and your Chromebook has enough memory, it's a good way to code locally: you get a Debian container, a terminal, and you can install VS Code inside it.
It often isn't that simple:
- Managed Chromebooks. School and work Chromebooks are enrolled in an admin console, and the admin can turn Linux off. Plenty of students find exactly this. There's no supported way around it, and you shouldn't look for one.
- Low-end hardware. On a Chromebook with 4 GB of RAM and eMMC storage, running a Linux container, VS Code, a language server and a dev server at the same time is slow. It works, but you'll wait on every build.
- Storage. Small drives fill up fast once you add toolchains,
node_modulesfolders and Docker images.
If any of these apply, the practical answer is to let a different computer do the heavy lifting and use the Chromebook as a screen and keyboard.
Browser-only editors and their limits
There are editors that run entirely inside Chrome. They're worth knowing about, and for some tasks they're enough.
vscode.dev and github.dev. These are VS Code in the browser, and they're great for reading code, editing a few files and making quick commits to a GitHub repo. What they don't have is a terminal or a runtime. You can't run npm install, start a dev server, run tests or use extensions that need a backend process. They're editors, not development environments.
Online playgrounds. Sites like CodePen or language playgrounds are fine for small experiments and classwork, but they aren't built for full projects with dependencies, git history and a real file tree.
Cloud development environments. Services like GitHub Codespaces give you a full VS Code with a terminal, running on a cloud VM. They work well from a Chromebook. The tradeoff is cost by the hour beyond a free quota, and your code lives on someone else's machine. We compared this in detail in GitHub Codespaces alternative.
Here's how they compare on what usually matters:
| Option | Terminal | Runs your code | Your extensions | Cost |
|---|---|---|---|---|
| vscode.dev / github.dev | No | No | Web-only ones | Free |
| Online playgrounds | No | Limited | No | Free or paid |
| Cloud environment | Yes | Yes | Yes | Hourly beyond free quota |
| Your home computer's VS Code | Yes | Yes | Yes | Free for one computer |
Use your home computer's VS Code from Chrome
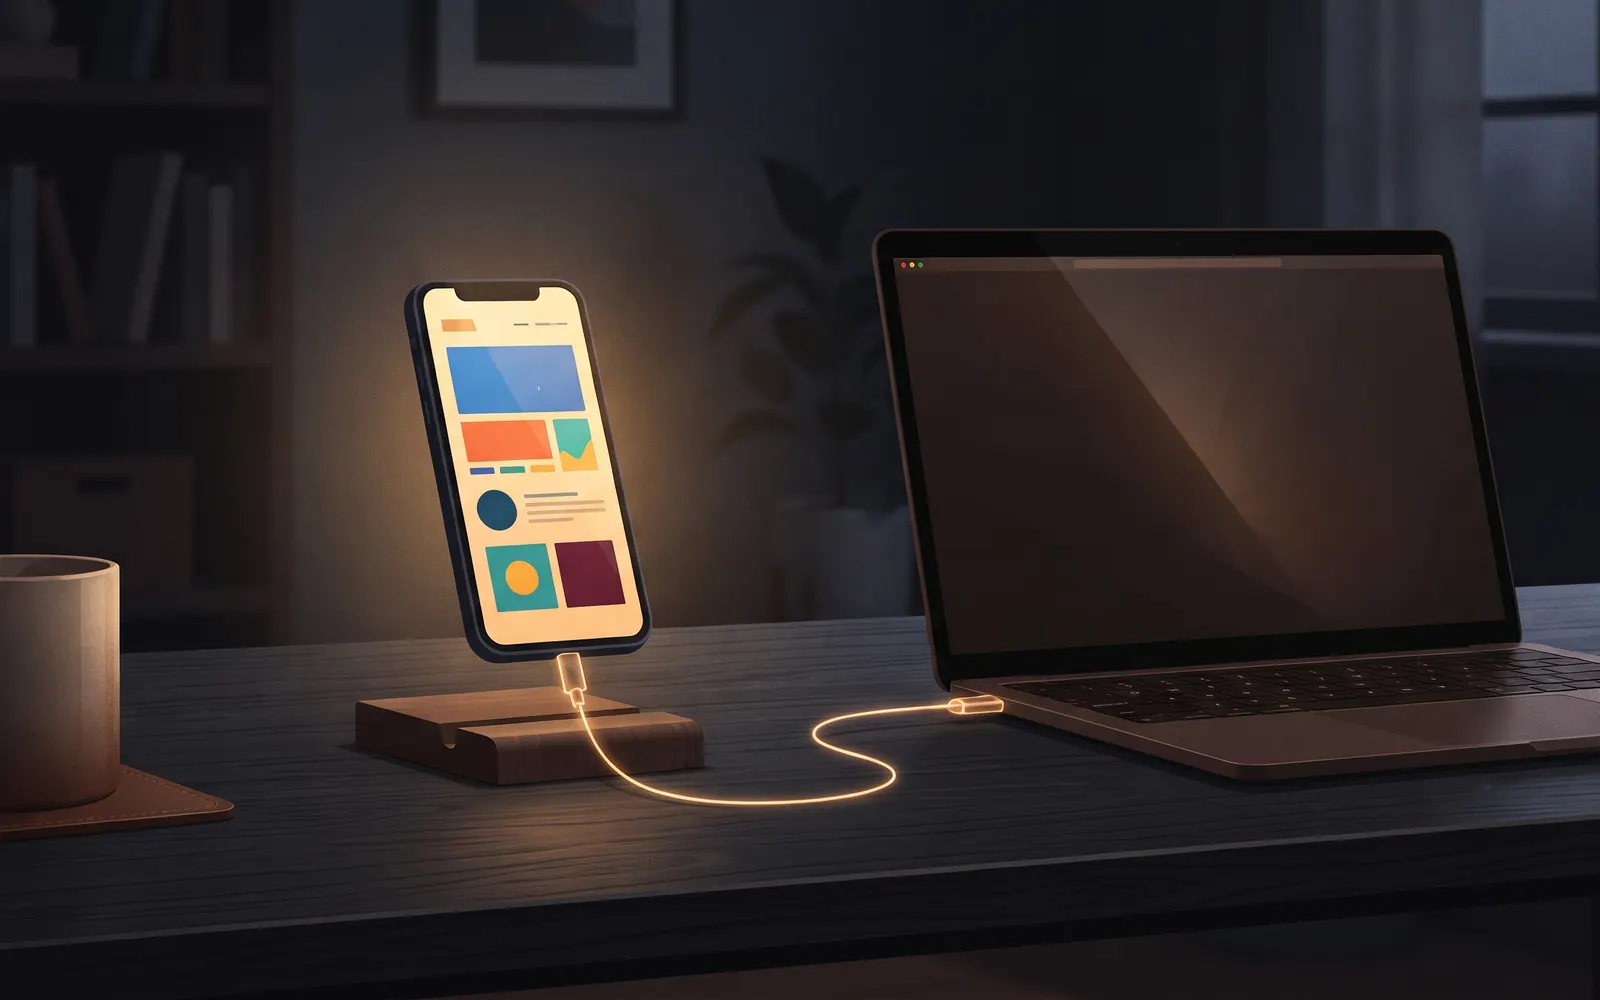
If you have a Windows PC, Mac or Linux machine at home, it can do all the work while the Chromebook just shows the editor. Nothing gets installed on the Chromebook itself.
Coder IDE runs Microsoft's own VS Code server on your computer and opens it in any browser. Setup takes about a minute, and all of it happens on the home computer:
- Install once on your computer. Run the install command shown on the Coder IDE site. It works on Windows, macOS, Linux and WSL.
- Approve it. Click Sign in in the desktop app, then confirm the code from a browser you're signed in to. Every new machine has to be approved by you.
- Open it on the Chromebook. Sign in at the Coder IDE site in Chrome on the Chromebook, with a one-time email link or Google. Your computer appears on the dashboard. Tap Connect to start the editor, or Open if it's already running.
You get the real VS Code: your extensions, settings, keybindings and integrated terminal, running on your home computer's processor. Builds, tests and language servers use its CPU and memory, not the Chromebook's.
You don't need to forward ports on your router, set up a VPN or install certificates. It works behind NAT and firewalls, so it works from school Wi-Fi, a library or a coffee shop the same way it works at home. When the Chromebook and the computer are on the same home network, they connect directly. Elsewhere, traffic goes through a relay that forwards it; your code stays on your computer. The security section explains the details.
The one requirement: the home computer has to be on and awake. Set it not to sleep while plugged in, and turn on auto-suspend if you want idle editors to shut down after a timeout.
Install it as an app
Running the editor in a regular Chrome tab works, but tabs fight with editor shortcuts and lose space to the address bar. Install it as an app instead:
- Open the Coder IDE dashboard in Chrome.
- Use the install icon in the address bar, or Chrome's menu, to install the app.
- Launch it from the ChromeOS launcher or pin it to the shelf.
It then opens in its own window, without browser chrome, and more keyboard shortcuts go to the editor instead of Chrome. It still needs a connection: offline, it only shows a notice saying you're offline, because the editor lives on your home computer.
A few tips for the Chromebook keyboard:
- Hold the Search (launcher) key and the top row works as F1 to F12. Handy for debugging shortcuts like F5 and F10.
- Ctrl + Shift + P opens the command palette, just like on any other machine.
- If a shortcut still gets captured by ChromeOS, rebind it in VS Code's keyboard shortcuts.
Run and preview web projects
The usual Chromebook-without-Linux problem with web development is that you can't run a dev server. Here, you can: open the integrated terminal and run npm run dev or whatever your project uses. It runs on your home computer.
To see the result, use the Ports panel. Turn on Allow preview for a dev server's port and it gets a private link that only opens for you, signed in to your account. The Preview button opens the running app beside your code or in its own tab. The panel also lists servers started in any terminal on that computer, not just inside the editor. You don't need to expose anything to the public internet.
If you want to check the page on your phone too, open your localhost dev server on your phone covers that.
Respect school and admin policies
If your Chromebook is managed by a school or employer, the admin decides what's allowed on it. A few practical notes:
- Check before you rely on it. Some managed Chromebooks block installing web apps or restrict which sites you can visit. If the dashboard is blocked, it's blocked.
- Don't try to bypass restrictions. Developer mode, powerwashing an enrolled device or other workarounds can break the device's policy, void support and get you in trouble. Ask your IT team or teacher instead.
- Keep school and personal work separate. Your home computer is yours. Code on it, keep your projects there, and use the Chromebook as a window to it.
- Ask for Linux if you need it. For a programming class, a school admin may be willing to enable the Linux environment for your device or group. It's a reasonable request.
Wrap-up
A Chromebook without Linux can't run a toolchain by itself, but it doesn't need to. Browser editors cover quick edits. A cloud environment works if you're happy to pay by the hour. And if you already have a computer at home, you can use its VS Code, terminal and dev servers from Chrome, with nothing installed on the Chromebook.
The same approach works on other thin devices; see VS Code on iPad if you have one of those too.
Start free. The free plan covers one computer.